Every year, students are looking at building student portfolios to showcase their talents. They've created awesome projects for school which they are extremely proud of. They are personal documents of growth, and testaments to our kids' genius.
Students will graduate eventually and will be looking for colleges or jobs. It's likely that they’ll take advantage of the Web to search for future careers. How do they bring their best projects with them to a job or college interview? This is the idea behind building student portfolios.
It's a way to capture a student's best work to share with anyone who might be interested.
We suggest using LinkedIn or Evernote. LinkedIn is possibly the most-used professional networking tool out there. It's for those who are actively seeking prospective colleges, employees, and employers. Evernote is one of the most popular digital workspaces out there. It has stood the test of time. It remains a powerful organizational tool for students and professionals alike.
Let's look below at how building student portfolios works with each application. We'll take you through how students can do it step-by-step with each one. Share it with all your students looking to build great portfolios!
Using LinkedIn for Building Student Portfolios
With LinkedIn, students can begin writing content-rich online resumes while still in school. These will stay with them for the rest of their lives (or as long as LinkedIn service is available).
They should continuously update their portfolios as they go along. It will ready them when grad time comes, so they can go out there and show off their best. Whether a student is actively looking for a job/college or simply trying to compile their best work, LinkedIn could be the right tool for them.
STEP 1: Understand the Requirements
First of all, if you’re a teacher, you’ll need to read this: https://help.linkedin.com/app/safety/answers/detail/a_id/38599
Teens will need to read this: https://help.linkedin.com/app/safety/answers/detail/a_id/38598
A student will need to be 13 yrs. or older and have your own email address in order to use LinkedIn.
STEP 2: Gather Information
If you’re good to go, start by gathering your pertinent data. Here’s what you’ll need:
1. Your most professional looking picture. Students must be aware that this isn’t like Facebook. They should avoid uploading inappropriate or questionable images of any kind. Think of it as uploading an actor's headshot. Put your best foot—and face—forward into the LinkedIn community.
2. A short blurb for your headline (a sentence or two) including:
- your level of expertise
- the kinds of people you want to work for
- what you do
- what benefit your potential employers/customers can get from your services
- contact details, email, phone number (you’ll be able to set security preferences)
3. A summary to back up your headline. You’ll want to prepare this with the best prose that you can. Create this thoughtfully and make it support your claims in your headline..
4. A list of your skills and expertise.
5. Your interests.
Of course, many students will not have a whole lot of work experience. They may not have even graduated from high school at this point. No worries—it’s still a good idea to prepare them for the real world. Using LinkedIn teaches them how to make themselves look marketable.
STEP 3: Sign Up
This is pretty straightforward. You’ll need an email address, and need to be of the appropriate age to sign up.
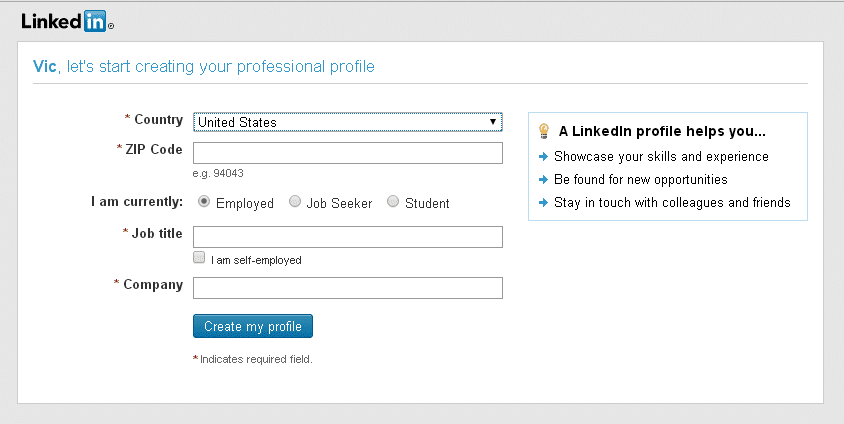
Step 4: Create Your Professional Profile (Digital Portfolio)
Once you’ve completed the sign up, LinkedIn will begin to ask you a bunch of questions. You can answer these if you want. You can also skip them by clicking the little 'X' on the top right.
Beneath your profile where it says “Add a section to your profile,” you should see “view more.” Click on that—if you’ve already completed most of your profile and don’t see “Add a section to your profile” you’ll find it by clicking “Improve your profile."
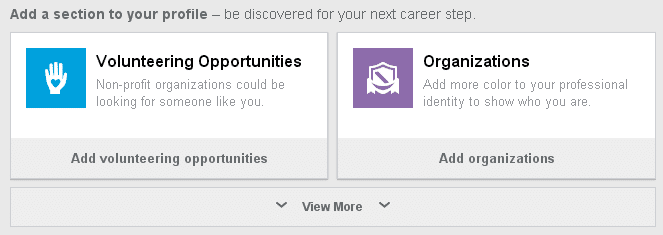
You can see all kinds of categories. This is where you’ll do most of your portfolio building.
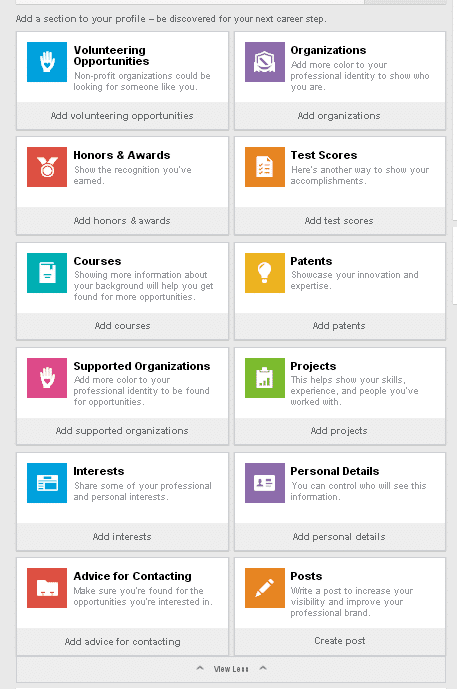
Begin by putting the information from Step 1 into its appropriate sections. There are some familiar headings from basic resume writing. There’s much more here in response to the added capabilities of the Web. Your students will surely have a great time creating their digital portfolios.
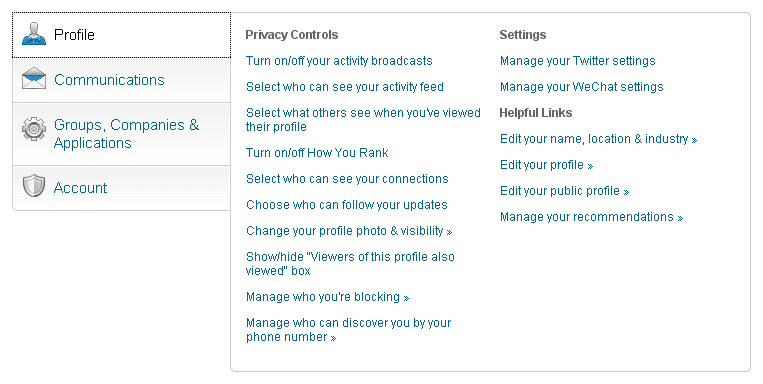
STEP 5: Set your Privacy and Security
Now to decide who can see what. How do you control this? When you click on your tiny picture icon at the top right of the screen, you’ll select “privacy and security settings.” As this example is an adult LinkedIn profile and not a student’s, there will be differences in what you see, depending on your age.
If a student has been using another digital portfolio service, by the age of 13 they’ll be ready to graduate to LinkedIn. It’s our hope that this post could be the start of a great career or college path for your students.
Using Evernote for Building Student Portfolios
Now we’re going to walk you through getting started with Evernote. Then once you get your feet wet, you can explore other options. This quick tutorial will get you up and running in Evernote so you can consider whether to use it for your student digital portfolios app.
It has a lot of benefits but also quirks. Use it for yourself before getting your students on board. You’ll have to consider its age-appropriateness and degree of learning curve.
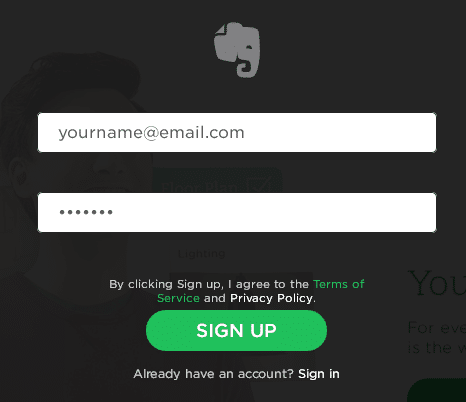
STEP 1: Sign Up
Sign up is free, so go ahead and get started at Evernote.com.
STEP 2: Getting Around the Workspace
So now you’ve got a blank page. Pay attention to the left. It’s like you’re at your school desk, and you’ve got paper for your notes and your very first notebook. Of course, there's the ever-present trash can.
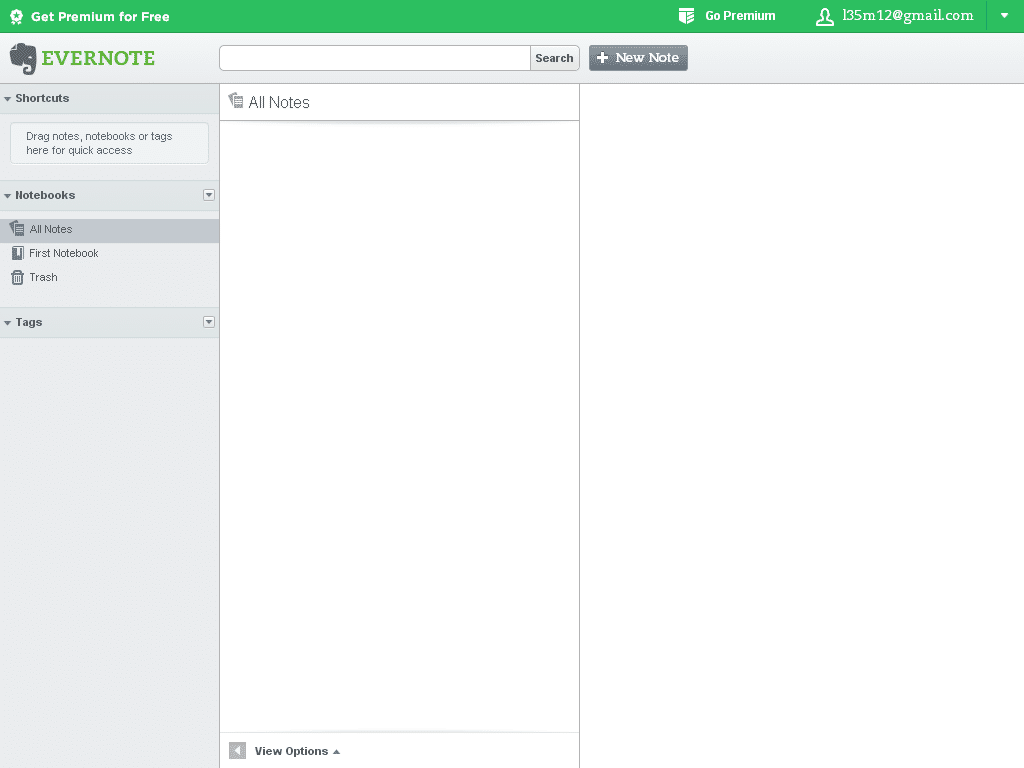
Can you smell the newness of the paper? Can’t wait to crack open that notebook and start taking notes or adding cool stuff? Let's get started.
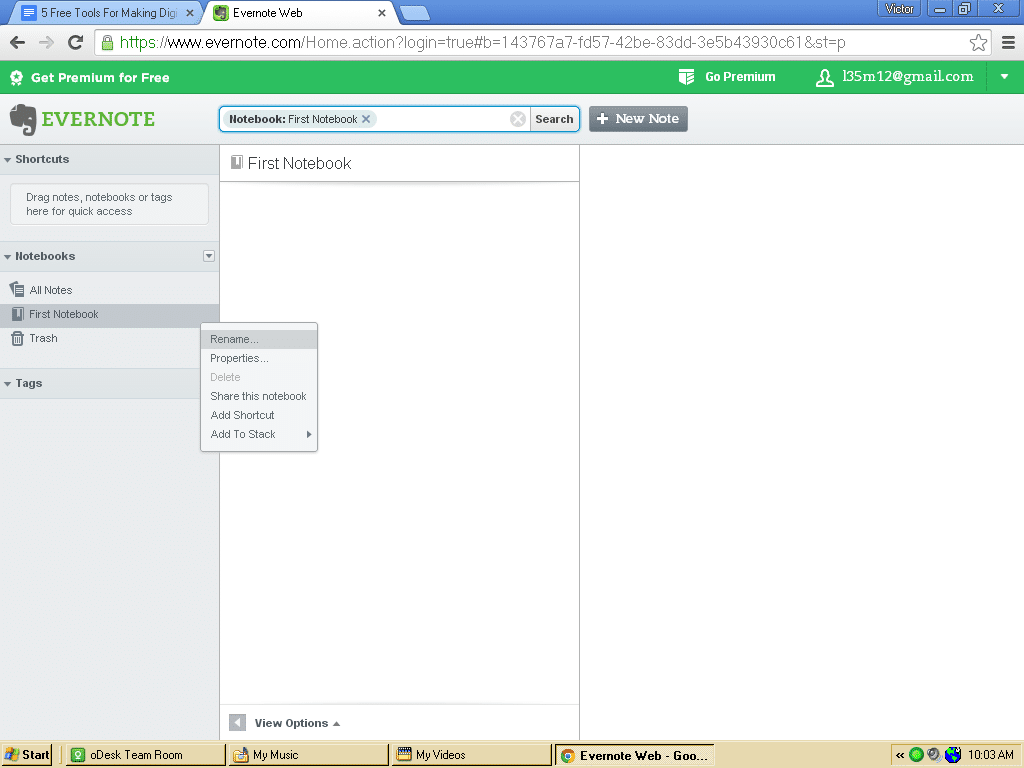
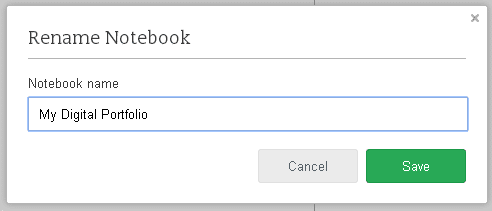
STEP 3: Create Your Portfolio
Let’s rename that “First Notebook” to “My Digital Portfolio.” Click on the pull down menu arrow and select “Rename.”
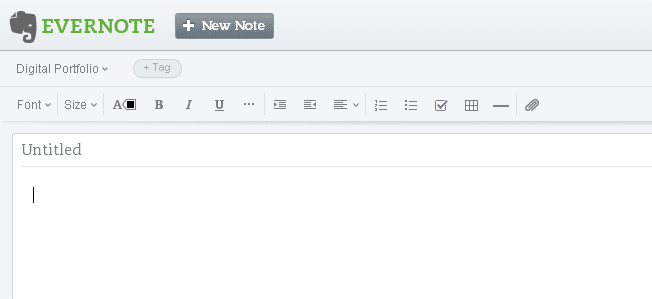
STEP 4: Starting Your First Page
Next, you’ll want to make the first page about you. Create a new note and click “Untitled” and immediately rename it to “About me.”
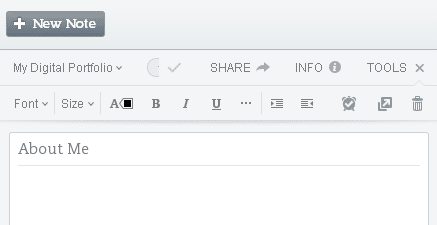
Next, let’s upload an image. If you don’t see the attachment paperclip icon, you’ll have to “Open This Note in a New Window."
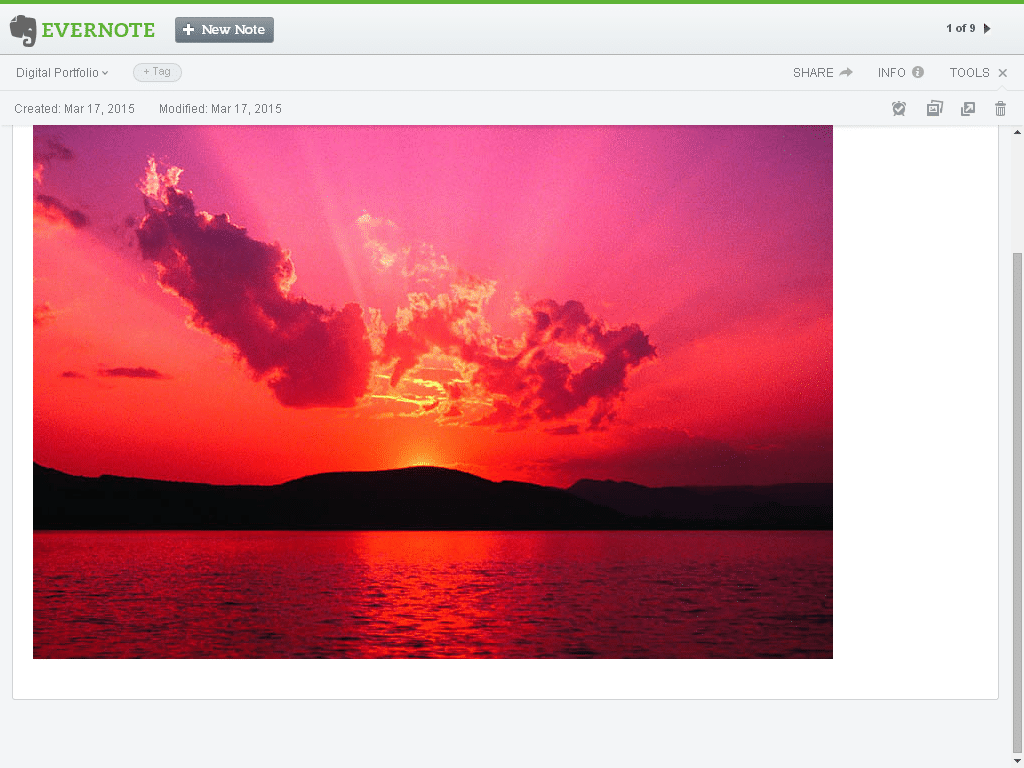
When the new window comes up, place your cursor in the text area. You’ll see the toolbar appear with the attachment icon.
This part can be tricky. Using the non-beta version, it can take a long time to find where you can attach a file. The beta version takes care of this; as you click into a note to add text, the attachment paperclip icon automatically appears to the right. Then you can attach your picture and add text.
With Evernote, you only get a greyish box to represent the attachment. If you’re lucky, your browser will be configured to simply click and view the item without downloading. If not, you’ll likely be downloading many resource-consuming files right onto your hard drive.
What you might want to decide now is how to get your students involved in this. You can create different notebooks for each student within your own profile and share those. This way they can each edit and make their own.
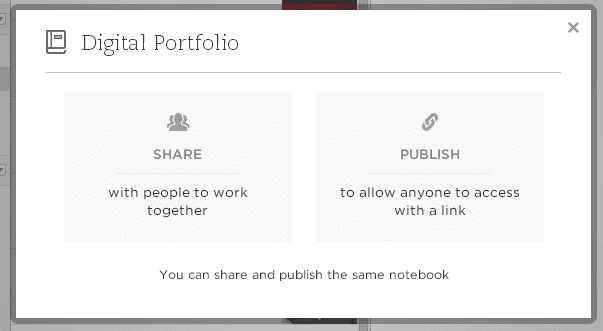
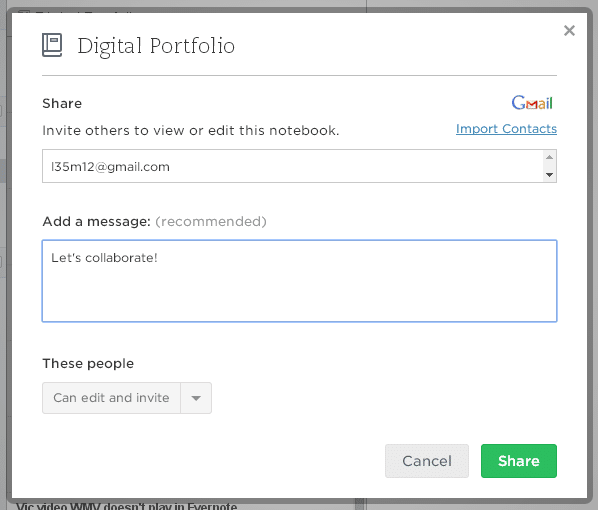
STEP 5: Sharing
So here’s how to share notebooks. Click on the notebook that you want to share. Follow the prompts—it's that easy!

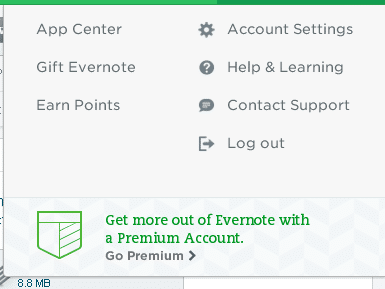
Here’s how to find the email to use to send from your mobile device straight to your Evernote notebook. Find your profile picture and click "Account Settings." If you get an ad when clicking account settings, close that window and try again.

Other Tools for Building Student Portfolios
VoiceThread
WordPress (for more advanced users)
Edublogs