The Solution Fluency Activity Planner is the modern teacher’s tool of the future. It allows you to truly design lessons that have 3 main components: sticky learning, higher-order thinking, and real world situations. This is the second part of our exploration of Solution Fluency lesson planning. Here is a link to the first.
I hope you’ve been able to create your first lesson, give it a name, assign standards, and pinpoint your essential questions. If you observe, these are the first steps in defining your project which is also the first step in Solution Fluency. Maybe since then you’ve discovered things in your everyday life that might lend itself to this unit. Maybe you’ve dreamed about ways that this could be implemented in a unit.
So, welcome back. Let’s get down to designing.
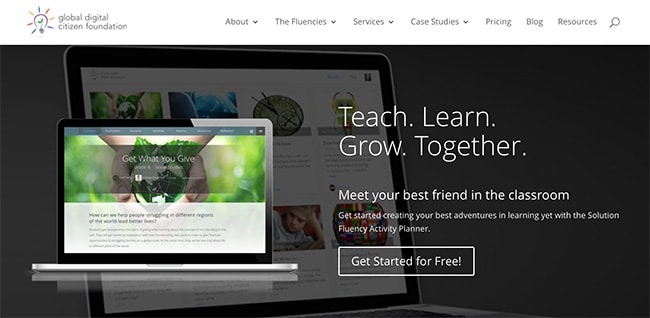
First of all, if you’ve come back through the home page of globaldigitalcitizen.org, click on “Get Started for Free!”
In addition, you can also click either the “Fluencies" menu or the “Services” menu, select Solution Fluency Activity Planner and click “Start Planning for Free.” Also you can go directly to solutionfluency.com.
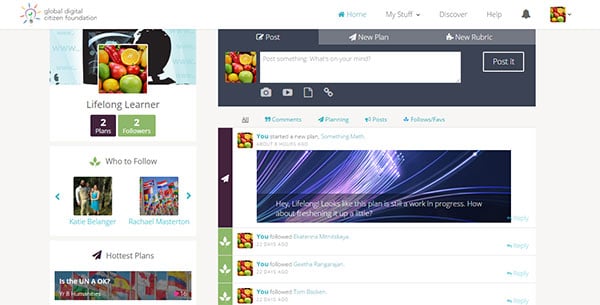
At some point you’ll get to your Login button at the top. Once we log in, we'll be at our dashboard again.
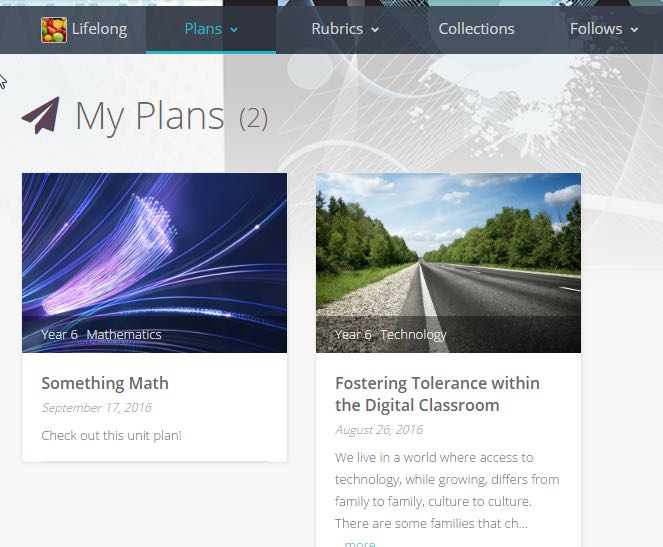
Go to the My Stuff menu and select My Plans. Here’s a shot of my own plans:
Click your plan and it brings you to our familiar Summary page. You can tweak details of your Summary and Curriculum as you get more and more into your lesson.
Time to now focus on the third menu item which is Assessment. We believe in great formative assessment which is speedy, relevant, respectful, and frequent. Since the most basic of these is Rubrics, here is where you will create them.
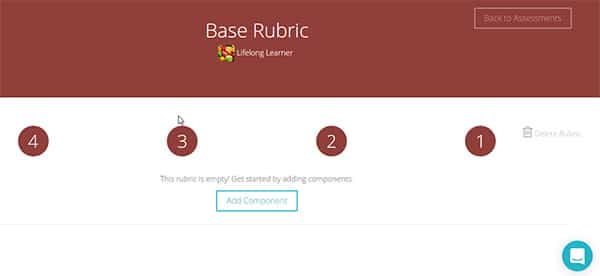
You'll want to click on Base Rubric—it's the one they give you right off the bat.
This may seem confusing at first as it deviates a little from the tried-and-true standard rubric. So I’ll explain a little about it; I went ahead and grabbed a rubric that’s out there. Here’s the link.
I filled in the corresponding information so that you can see exactly where to put the information. “Thinking” is the first component. Next, you enter the 4 levels of criteria to determine the degree of success.
Below the 4 criteria is “Evidence of Learning,” or simply a description of what the component is measuring in the overall sense of its best performance. For all you old-school lesson planning gurus, this is your “Behavioral Objective.”
In order to create more components, you just click the Edit button on the right. I’ve added Knowledge and Understanding as my second component. Once you’ve got your Rubrics all planned out you can save them and print them.
Now imagine yourself in front of the class. How will you present your plan to students? How will you make them feel like part of the project? How will you initiate buy in?
Challenge - presenting the unit to your students, and deciding which EdTech options you’ll use. They can be hi-tech, lo-tech, or no-tech. You might even need to come back to this if you are not sure. The next section is really where the bulk of your planning gets creative.
Activities - the best, most exciting part of all; the meat and potatoes of your lesson. The is the “how” of the students' engagement in learning.
The best way to explain this section is this. I’ve been a fan of the show Mythbusters for a long time. I’ve noticed that the pattern of the show runs parallel to the components of Solution Fluency.
In this sense, Mythbusters is kind of a template for your Activities portion. Now you've got your kids working. They’re learning by doing. Where can you document everyone’s progress and make notes as the project goes?
Resources is a space where you can jot notes, keep your thoughts organized with ideas as they come up. This is what I love about the Solution Fluency Activity Planner. It changes with you and allows you to come back to it time and time again to improve your processes.
When all is said and done, Reflection is the space that you visit to look back and assess your own performance. What can be improved? Why did things not go as smoothly? What surprised you?
Make notes for next year. As you visit the Solution Fluency Activity Planner again and again, you’ll get better and better at what you do.
The great thing about the Solution Fluency Activity Planner is that you can tweak your plan whenever you want. Your plans reside on the server and, with collaboration tools, you can get help and suggestions from the community. If anyone else tries your lesson, they can tell you about it.
The Solution Fluency Activity Planner raises the bar of lesson planning tools by helping you build relevant lessons, packed with higher order thinking and real-world situations—key ingredients to modern innovative teaching.
It’s as flexible as you want it to be and it keeps the focus on your work, not on the tool itself.