This is the sixth in a series of articles from guest writer Stephen Berer focusing on literacies, fluencies, and projects for museums and classrooms. If you missed them, you can access the previous entries in the series here.
In my previous article I outlined a project to discover the Faces of Resistance for students while visiting a Holocaust museum or an exhibit devoted to genocide or racial/ethnic injustice. Students would take on the identity of a victim, and through that lens create a video exploring the ways in which victimized people resisted their oppressors.
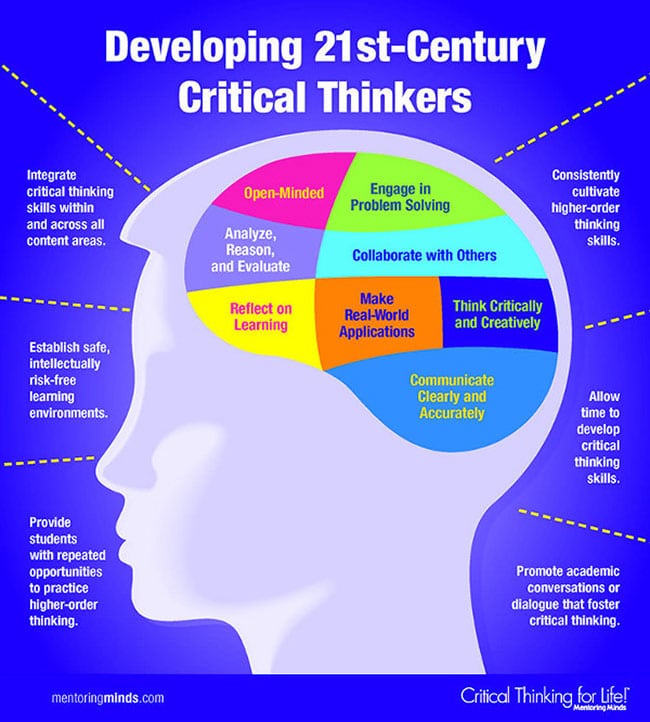
I have found that students really enjoy developing these kinds of projects. They provide a wide doorway of creative freedom while allowing students to customize their research to their personal interests. Students are encouraged to use the latest technologies, and showcase their visual and technical fluencies. Because they work in groups, these projects become a means of promoting peer to peer learning. They are also an effective way to create structured social settings to facilitate personal development. Students learn from each other; their learning is social and pleasurable, and it is usually not stressful. In sum, you have an easily implemented checklist for 21st century learning.
As a teacher/coach, there are many ways you can help your students perform at the peak of their abilities. Here are four suggestions for designing successful team projects.
However, my preference is to punctuate the year with two major projects, keyed to the two most important units we cover, units that last at least a month. I announce and describe each project as a way of opening the unit. That immediately builds engagement in the material, while giving students the maximum amount of time to work on their projects. I also allocate at least one class a week for students to work on their projects. During those classes I circulate among the teams, checking in and offering comments when appropriate. Those classes also give students time to ‘listen in’ on what other teams are doing, a great way to improve the general quality of work.
3. Use checkpoints. Prior to becoming a teacher, I built statistical models to forecast complex systems. Those models were always evaluated and field-tested in stages. I brought that experience into my classroom. I always divide projects into checkpoints, usually one a week. That gives me an opportunity to evaluate each group’s progress, and to point out areas that need improvement or expansion, or even substantial remodeling, before it becomes a crisis. It is a very successful means of helping students build great projects and avoid last minute meltdowns.
If students are video-recording information in a museum or public location, the soundtrack will most likely be full of background noise and a fair amount of “hemming and hawing”. Therefore, if they have the tools and the time, they should re-record the soundtrack to clean it and sharpen its content.
If the project is not exclusively keyed to a specific museum or location, encourage your students to add information and images from outside sources. However, take note of pitfall #1 below!
To help students understand the relevance of their learning, you might have them include a section on ways they can respond to current events, or ways to market their idea or product.
In my next article in two weeks, I will walk you and your students through another great museum. While different museums require different lenses to effectively explore them, some of the intended outcomes will remain the same: to situate students inside the information, and to make the information relevant.
Steve Berer is an educator and author, and founder of Museum Exploration Partners, an independent education company. Visit them at http://musexplore.net/.